

Part Three of a new ‘DIY Car Mods’ series.
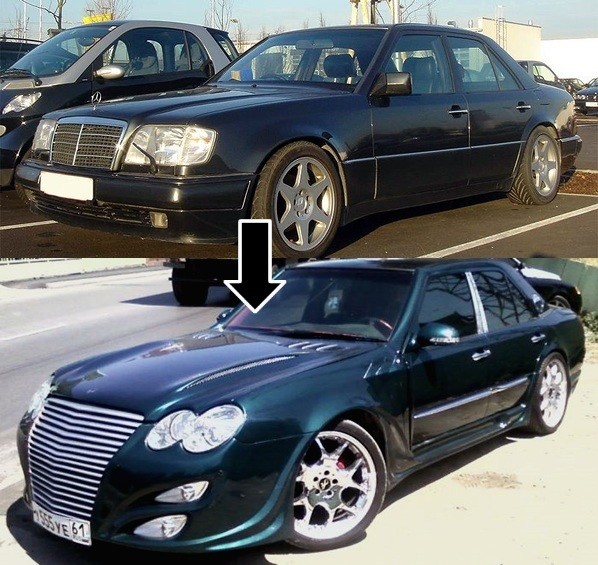
Definitely some really trashy stuff included in this series of articles. But what is the best/worst part of modifying your own car? No matter the price of the upgraded parts — you have zero guarantee they will perform as promised, or even fit.
So please take all these with a hefty dose of salt. Ideally, these are just ideas based on what has “stuck” on my car’s cosmetic refresh list over the years. Many, many even trashier upgrades have been installed and later removed from deep shaming by car-guy pals. And always remember, no matter how crappy your DIY effort, there is always a worse one out there… somewhere!
Must-Have Mod Criteria:
— Under $60 per upgrade. Total.
— Installed in a few hours or less by anyone. Little expertise needed.
— (Mostly) Able to be uninstalled in just 5 minutes as needed when the style is dated or you … ahem… grow out of some of these boy-racer styling enhancements.
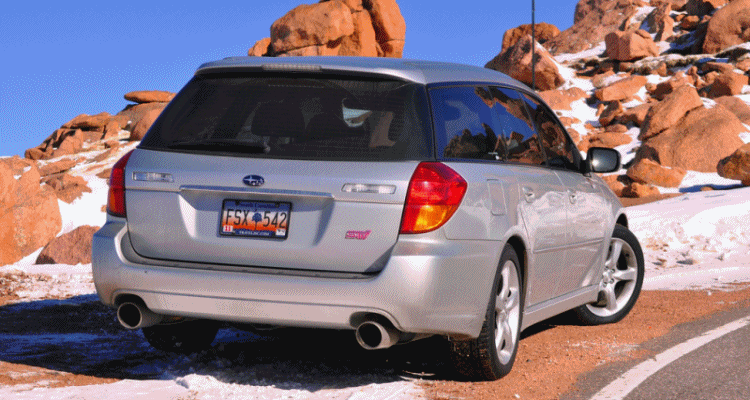
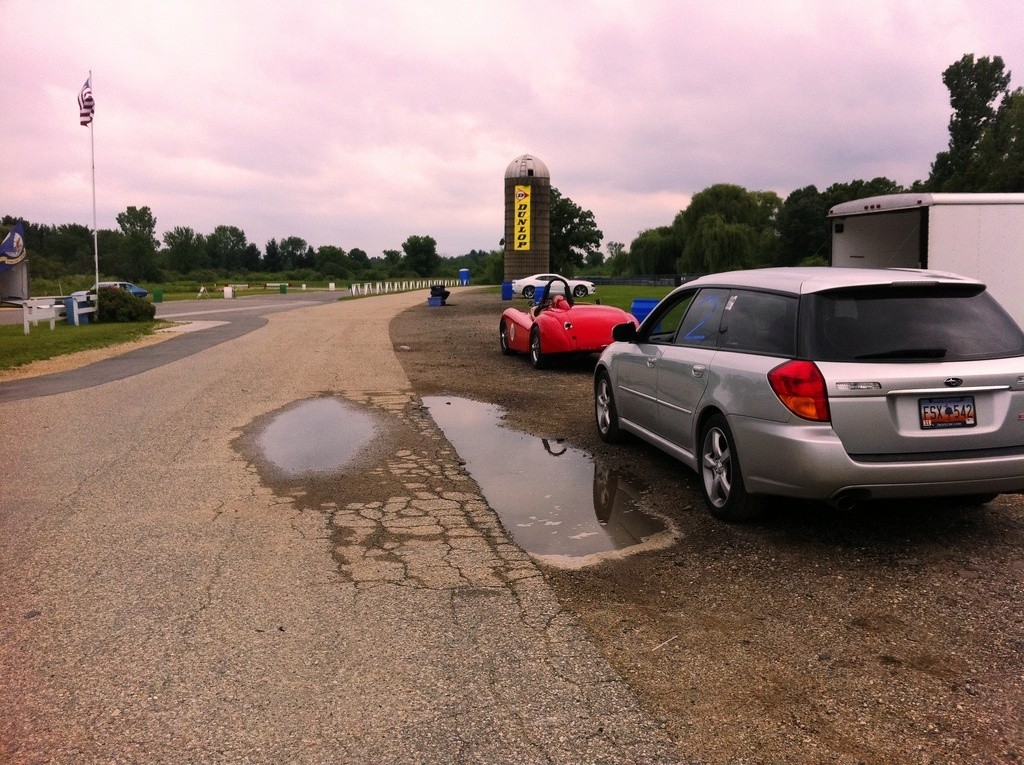
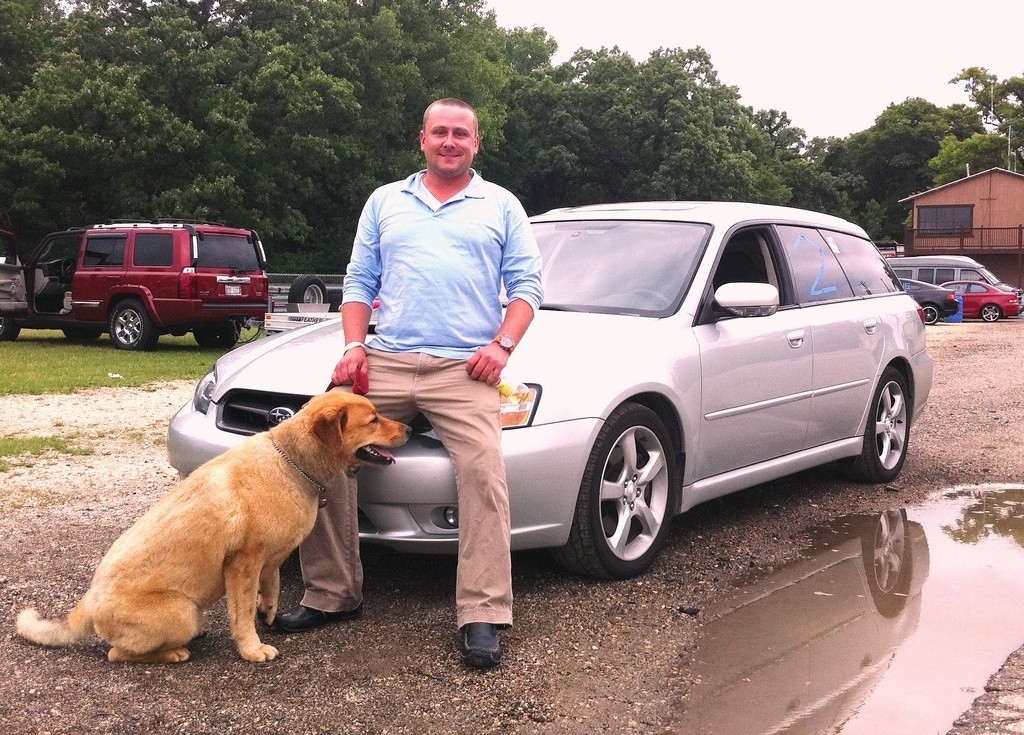
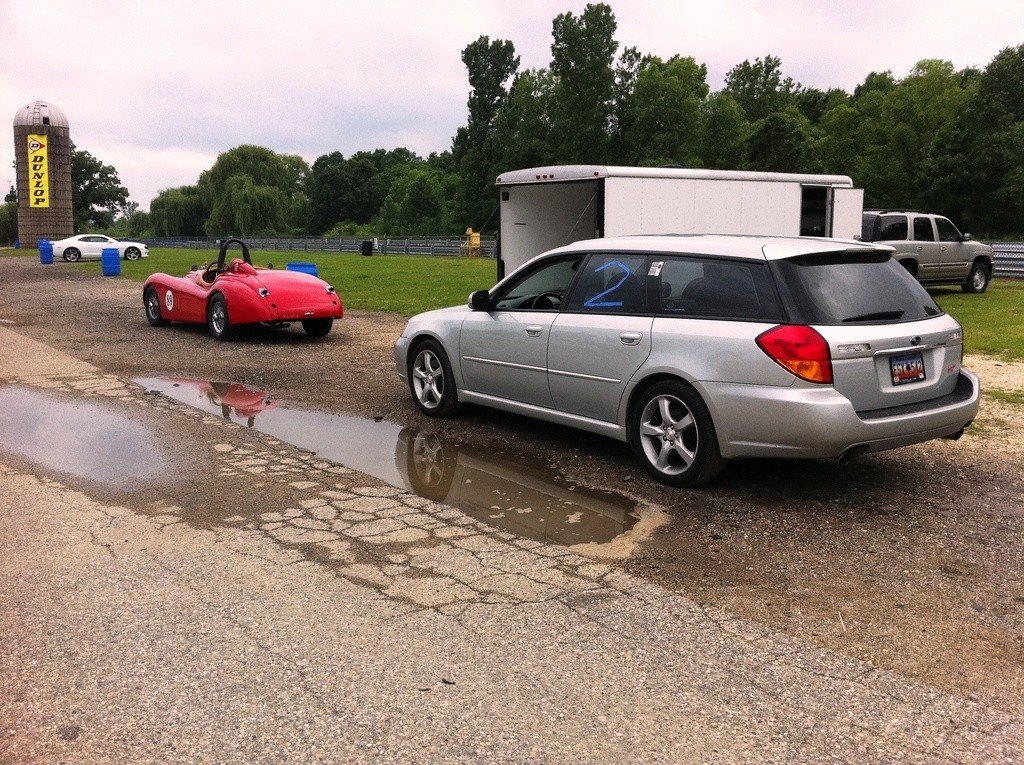
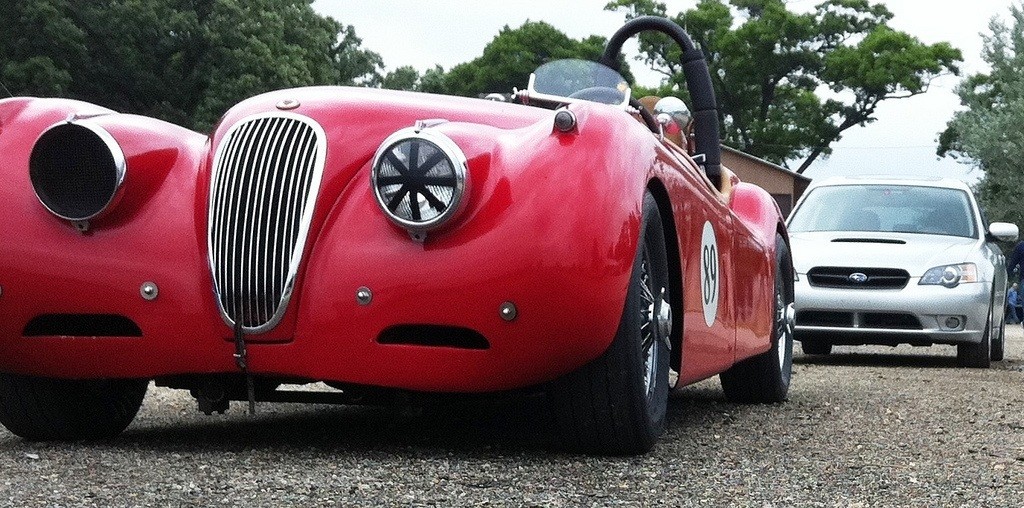
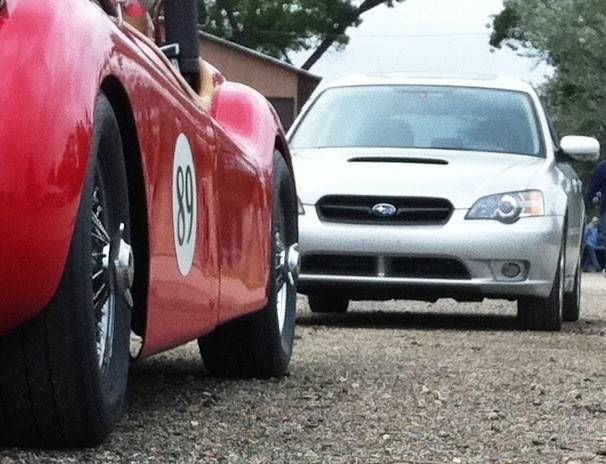
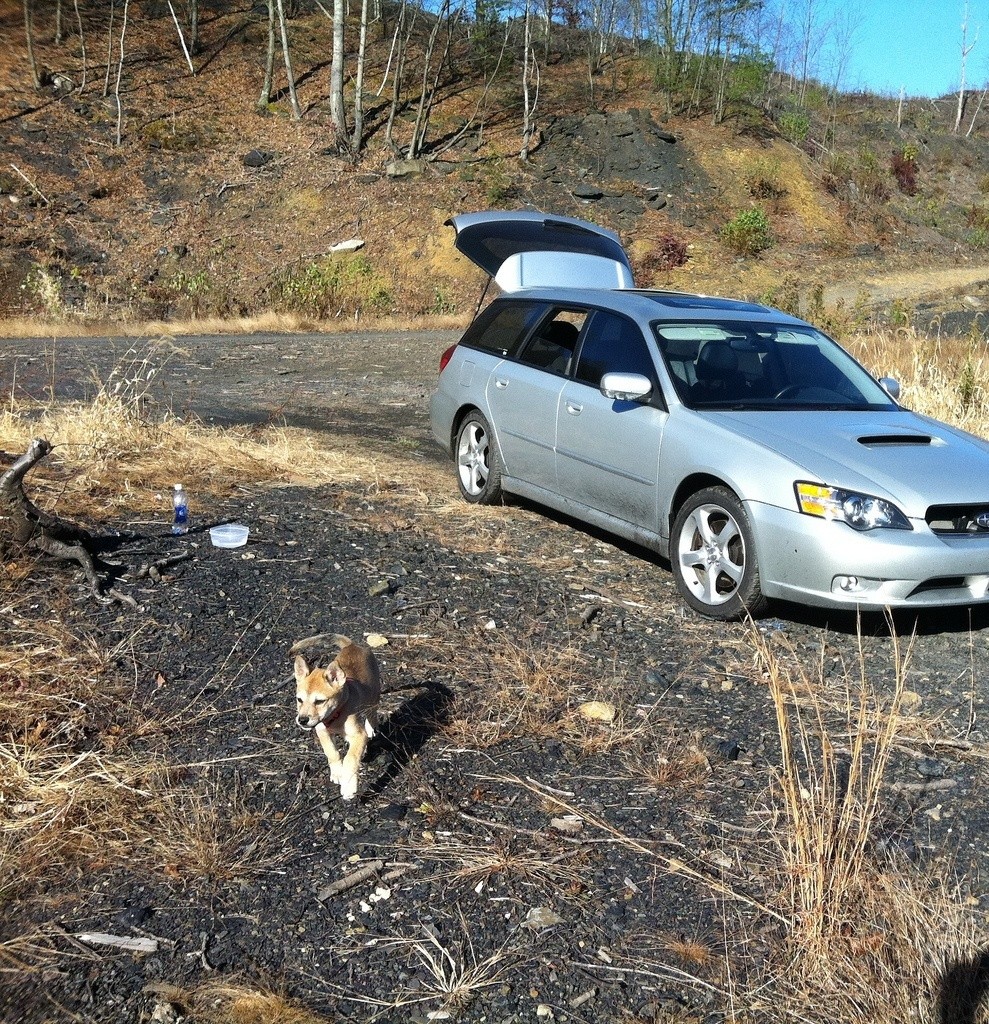
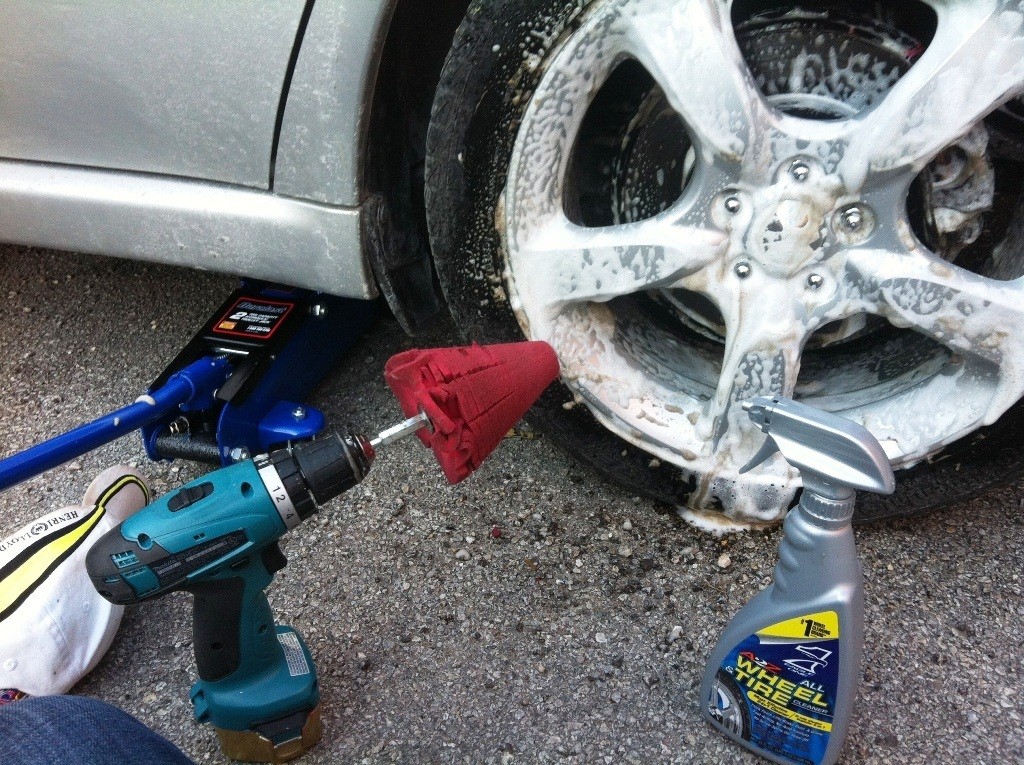
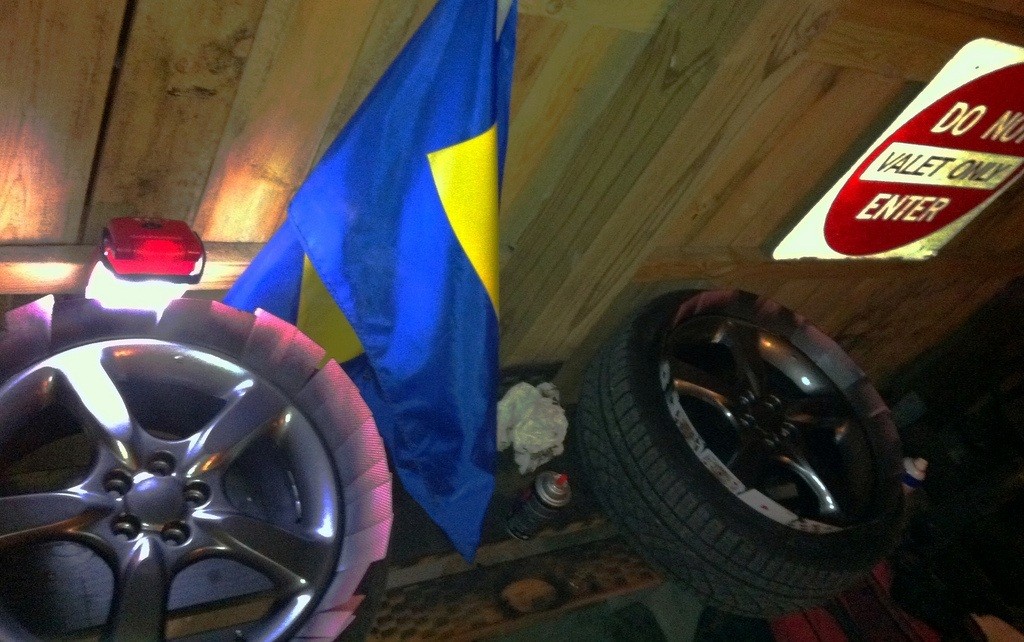
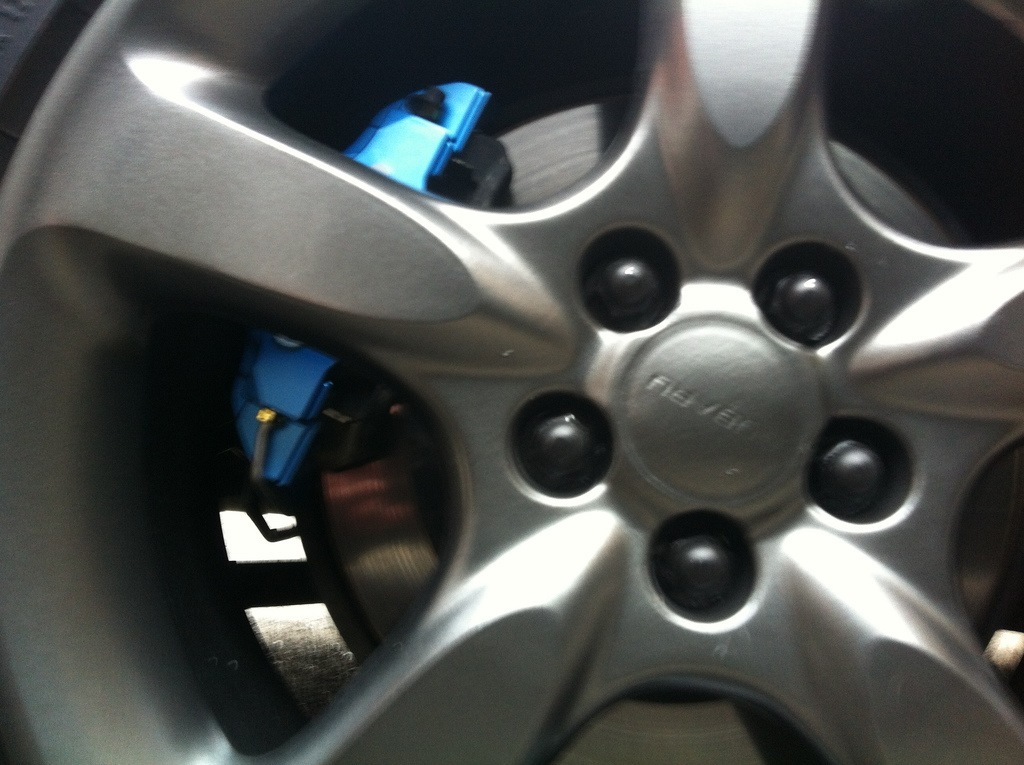
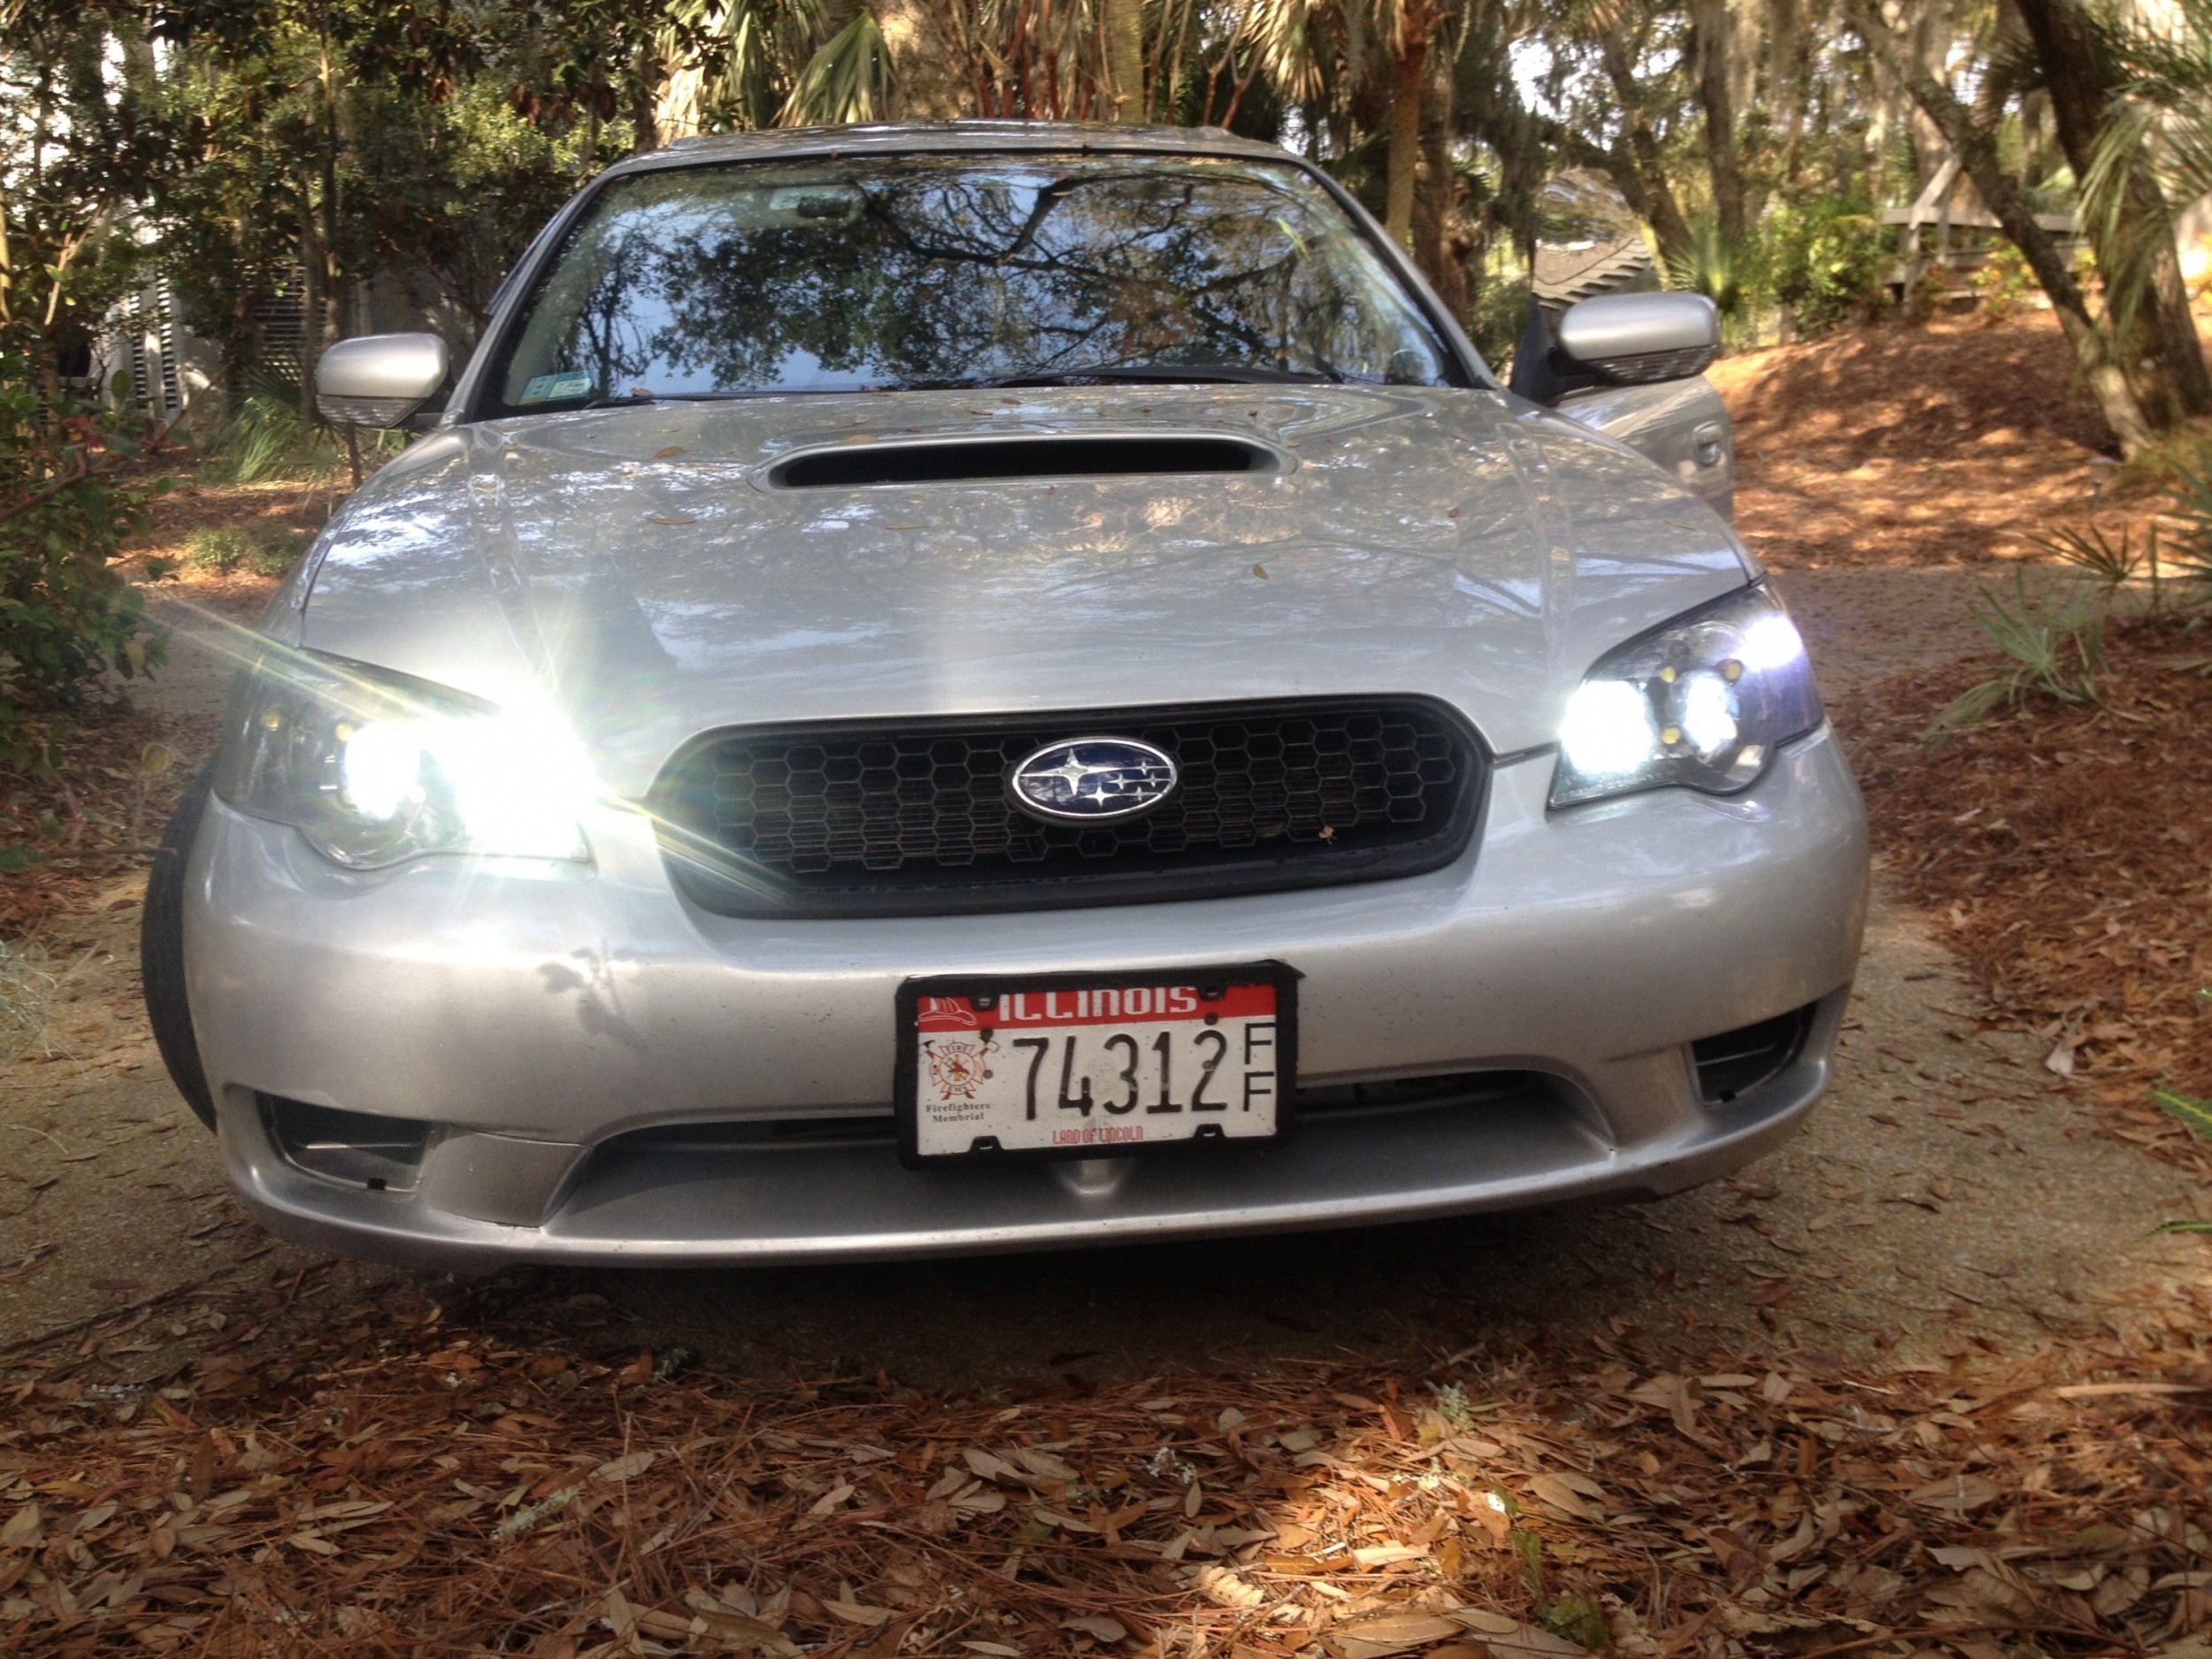
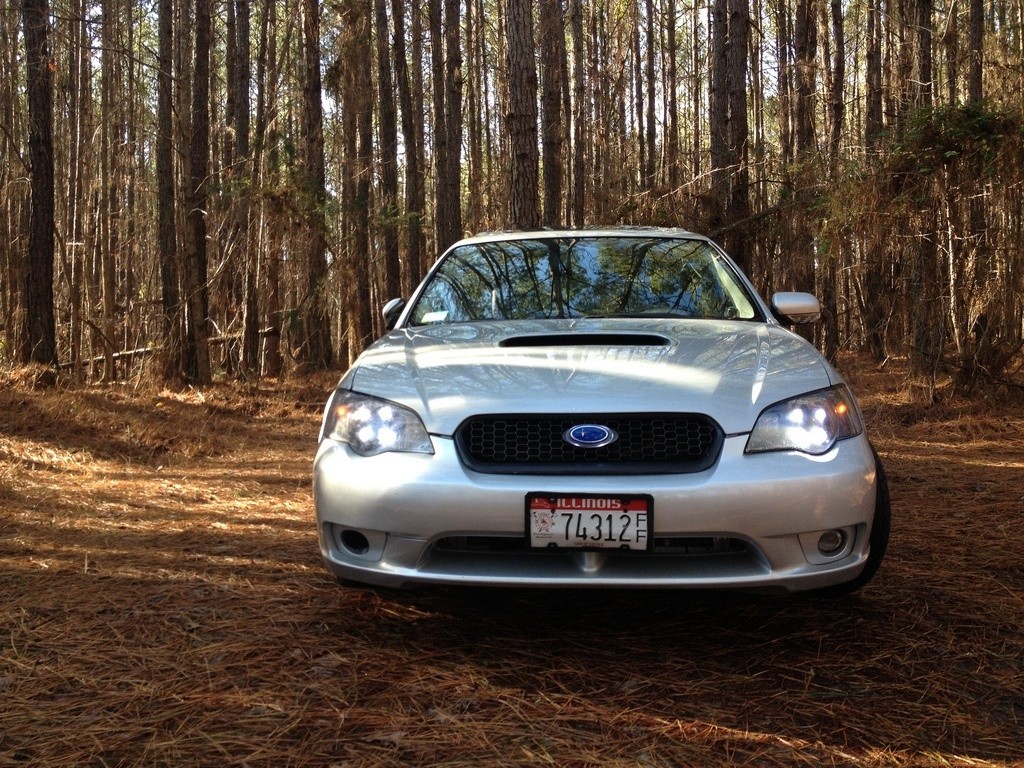
“Before” Gallery
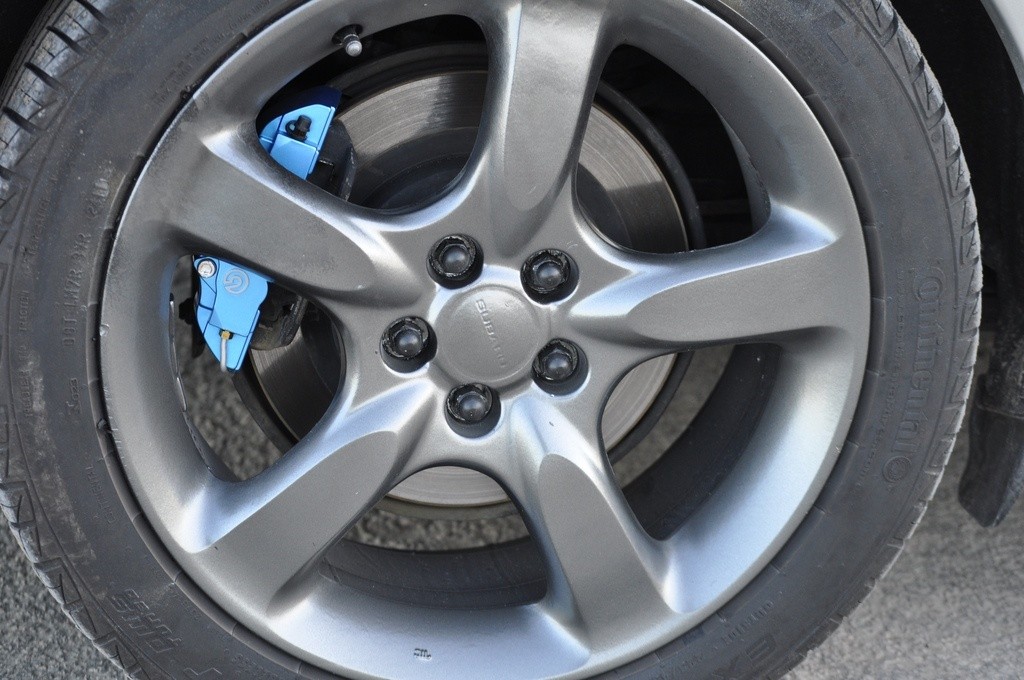
Plasti-Dip Your Wheels!
Why? Looks amazing, cheap, DIY, relatively durable finish over the long term of wheel scratches, etc. Plus, covers any wheel scratches or flaws.
Cost: 2 cans of Plasti-Dip per wheel = about $60 total. One deck of playing cards.
CAVEAT: Takes a lot of time. Requires a decent auto jack to lift the car. Your OEM one will be a frustrating process on every corner.
Extra Credit: for a semi-metallic finish, add some light mist of a metallic silver while black Plasti-Dip is drying.

How To Plasti-Dip Your Wheels:
-
— Jack up one corner of car at a time. Remove wheel and Clean It Well.
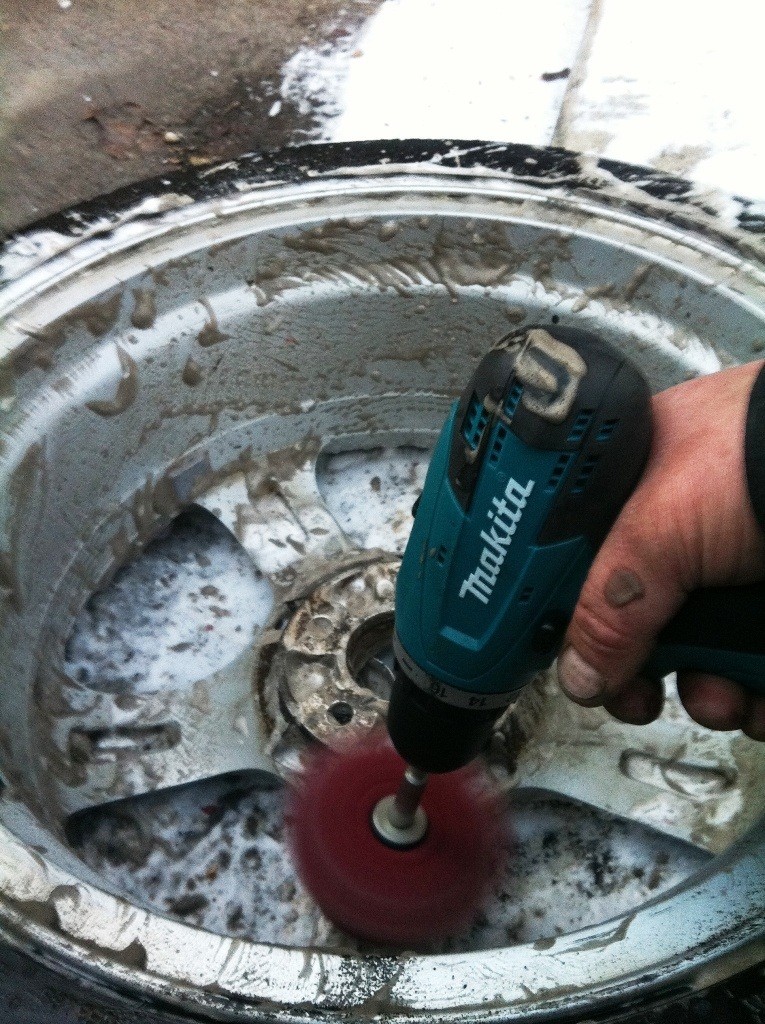
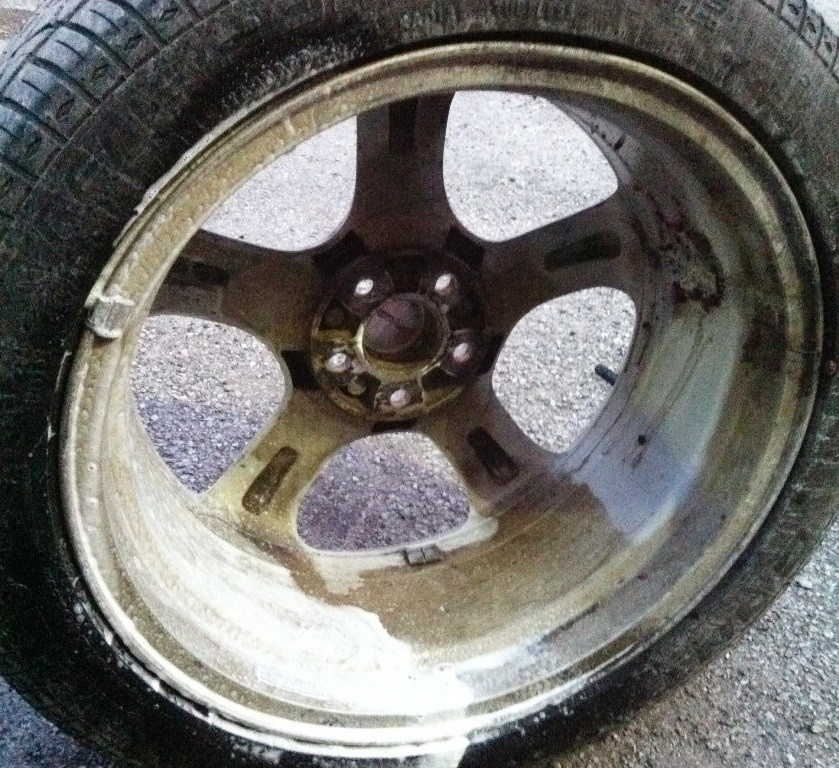
After wheel is clean and dry,
-
— Roll wheel/tire combo to workspace.
-
— Remove wheel center cap and lugnuts altogether during painting. (Strongly Recommended!) Plasti-Dip individually if desired.
-
— When/Where to do? Outside, in temps of at least 50 degrees strongly suggested so Plasti-Dip dries as smooth as possible.
-
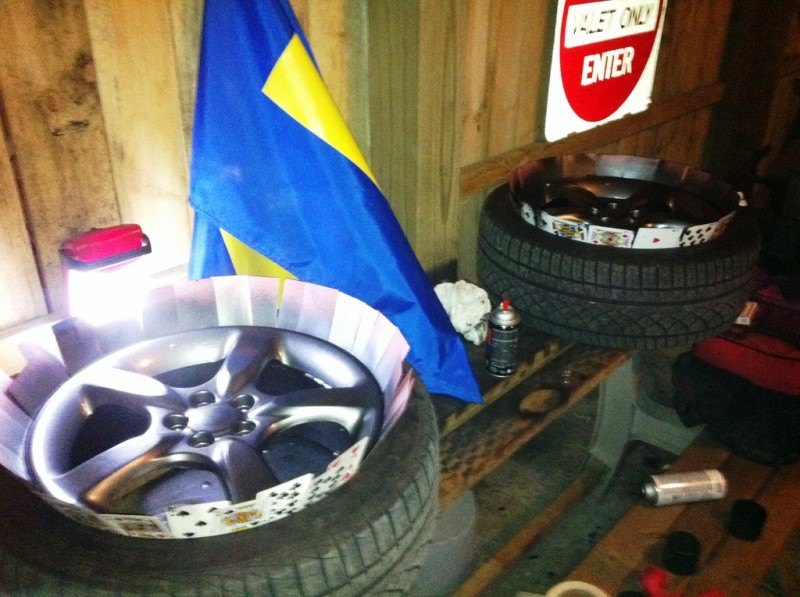
PAINT PREP: Line the tire with playing cards all around to completely avoid overspray — easy but critical. Cards slide into tire nub thing between rubber and alloy wheel.

-
— Follow the plasti-Dip instructions, except for the recommended heavy base coat. This ruins results and is intended for flat surfaces.
-
First layer: light as heck, barely covering surface, sprayed from far away (2 feet or more).
-
Wait ten minutes. Second layer, same. Do not over-do it.Light coats from far away.

-
Wait 20 minutes. Third layer, same. Plasti-Dip is great but takes some practice. If you over-do it on the first coat, it will create blobs of run-off in every corner and be basically ruined.
-
While Coat Three is still wet, add a light mist of your desired color accent. I used a smidge of touch-up paint in my car’s original silver. It blends by itself. No touching!

-
— Multiple coats, over a few hours, will all blend together into a flawlessly-smooth surface. But read the above warnings many times to avoid a Plasti-tragedy. New grilles are not cheap, nor is hours spent trying in vain to get plasti-dip blobs out of the wheel’s tiny corners.


CAVEAT THREE — make sure you switch angles of spray and or move the grille to get every facet — or will wear unevenly and perhaps have chrome peeking out eventually from some spots.
FINAL CAVEAT! Please DO NOT USE HEAVY COATS or SPRAY TOO CLOSE TO SURFACE! Ahhhh! I speak from experience. Trust me trust me trust me…
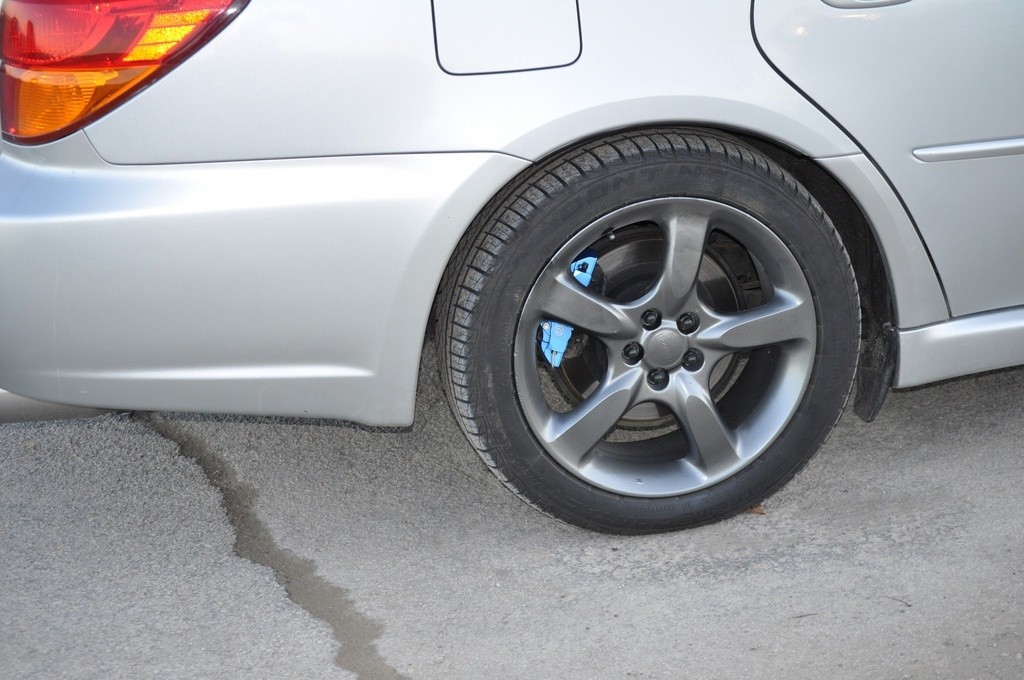
“After” Gallery
Okay! Hopefully you feel less trashy about your own car since seeing all my awful modifications over the years =]


But if you go for some of these ideas, please share your results!
http://www.facebook.com/carrevsdaily
Stay tuned for five more of my trashy DIY car mods in more articles today.
Next Segments coming in a few weeks?
— DIY LED High-Beams…
— DIY Comfort/Quietness Upgrades…

Tom Burkart is the founder and managing editor of Car-Revs-Daily.com, an innovative and rapidly-expanding automotive news magazine.
He holds a Journalism JBA degree from the University of Wisconsin – Madison. Tom currently resides in Charleston, South Carolina with his two amazing dogs, Drake and Tank.
Mr. Burkart is available for all questions and concerns by email Tom(at)car-revs-daily.com.