
To use a sports analogy, the physical property development of a project is like rounding third base and heading for home plate. Except its not a regular season game and you didn’t just knock it out of the park. Far from it. You’ve got the outfielder with an amazing arm launching the ball towards the catcher as you sprint with all you’ve got to slide into home.
It’s stressful, but exhilarating.
At the Art Center, there is tried and true methodology to getting the absolute best and most out of a transportation design student as we go from sketch to physical model in 14 weeks. I’m going to go into some detail about how the process works from my standpoint, but there are many ways to skin this particular cat, and I am far from the authority, just one who’s been through it and has a way that works.
With my McLaren Monaco concept project, myself and my classmates actually had about 12 weeks or less to complete everything as we also were preparing and creating our graduation show so this was a unique challenge. I remember finalizing my design in 2D (sketches and renderings) and then translating that into a 3D model in order to be milled right up until the very last minute of possibility. It’s a fine line, but as a designer, you’re constantly trying to get your design to sing as harmoniously as possible until you have to pull the trigger, make a judgment, and commit.
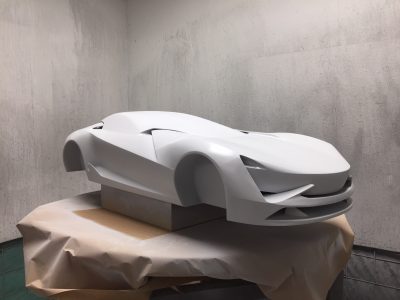
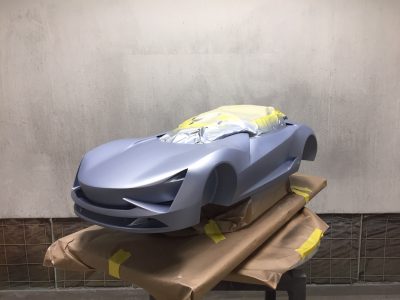
I elected to mill my model out of 20lb foam rather than by clay for one simple reason, I’m not a clay modeler and the end result of clay versus foam would not be as refined. I realize that clay would most likely result in a better model in terms of volume, surfacing, and form development, but I didn’t feel I had the time. So with the 3D Alias model done, I sent it to our CNC mill and about 8 hours later I had my raw foam model. After lightly sanding the surfaces with a thin slices of 20lb foam, it was off to the paint booth for primer.
I liked to get to school around 5-6am when everyone’s sleeping so you can have the paint booth to yourself and spend about 7 hours or so priming one coat at a time. After letting it dry for a good 24 hours to be absolutely sure the primer is fully dry, wet sanding begins. I managed to wet sand my model in a day which is quick, going from 200grit to 800grit in the process.
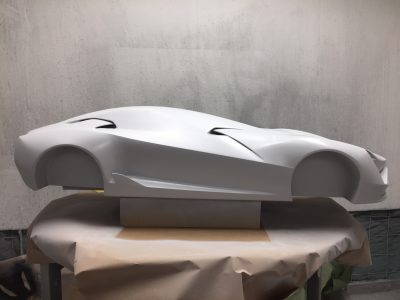
This takes a long time because you constantly are taping off your key lines and working with the form in order to not mess up your surfaces; once they’re gone, it’ll take skillful bondo work to get them back if you can. During this time I also had my 3D printed parts incoming and on this model the whole front end was 3D printed in 2 pieces, primed, sanded, and ‘bondo’d’ into the rest of the model. Also printed were the ‘tendons’ that go into the greenhouse from each corner of the car; the same process for the front end was applied to integrate them. I made one more trip to the paint booth in order to prime over the seams of bondo because bondo and paint don’t tend to be friendly so you want an even coat of primer below your painted surfaces.


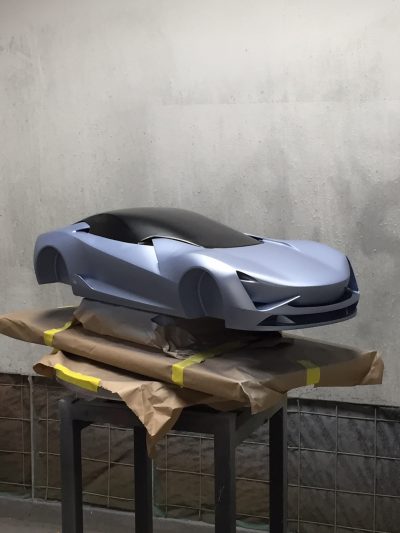
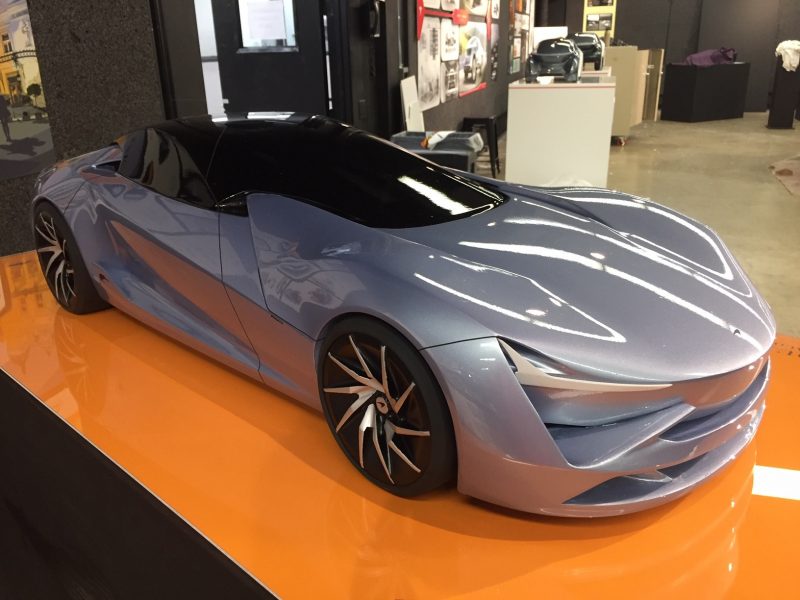
I’ll use another sports analogy now switching from baseball to the game golf. Painting your model yourself, is like putting; as my grandfather says, “you drive for show and putt for dough.” You can easily get to the green on a par 5 and be set up for a birdie, but ruin it completely with a 3-putt, or worse. Painting and clearing your model is very much the same, with particular emphasis on clear coating. With the model primed and sanded, I headed into the paint booth again, and this too was quite early in the morning which for painting is good due to the air being a bit thinner and cooler, helping to land the paint better.
I was always told to get the paint looking wet and that’s when you know its enough – sometimes this takes a couple rounds and sometimes it takes one, but every time its a feeling that either turns out right or wrong; there don’t seem to be absolutes in painting models at the Art Center during finals week. I’ve certainly had my blunders in the paint booth, from not adding catalyst to primer to adding reducer rather than hardener to clear coat, both of which result in pain.


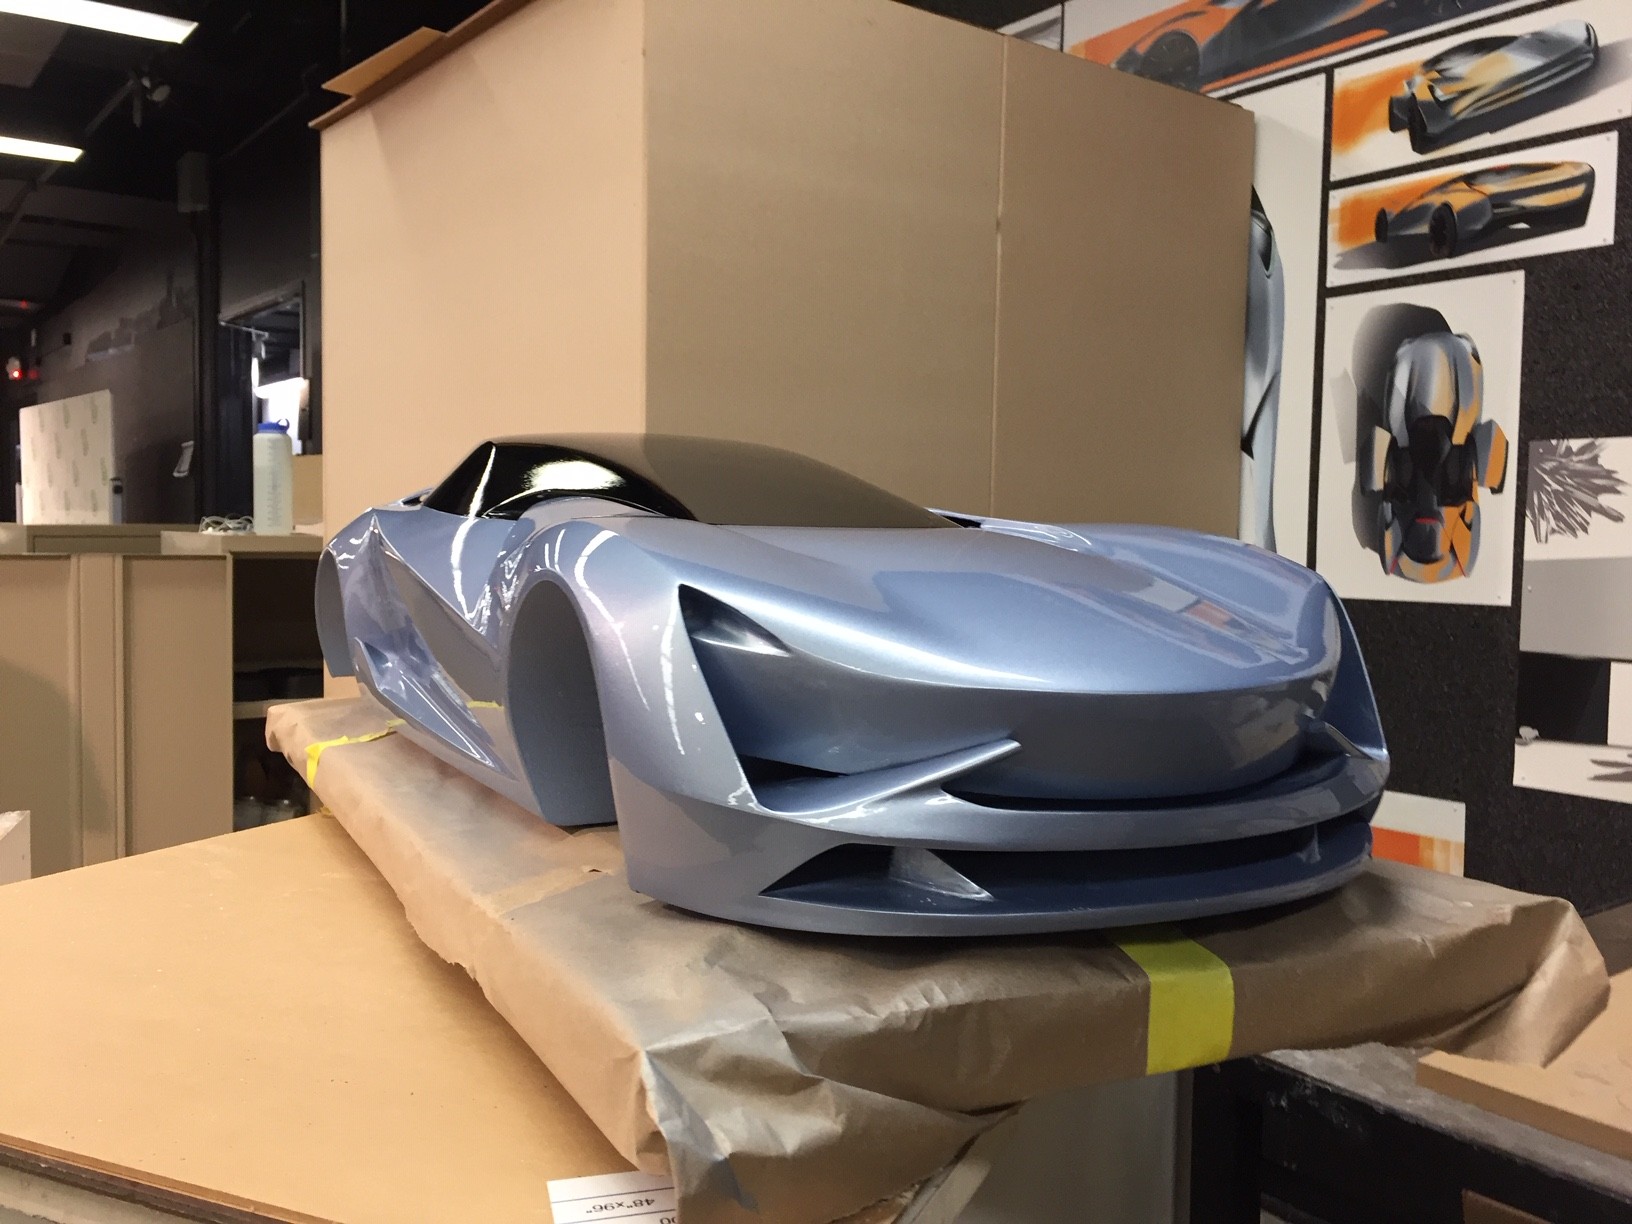
But with the McLaren project, I thankfully got it right and the paint looked great which brought on the trickiest part of the whole process; the clear coat. Through repetition, mistakes, trial and error, and watching professionals paint, I developed some confidence to clear my own models and this one was the best yet for me; a massive relief.
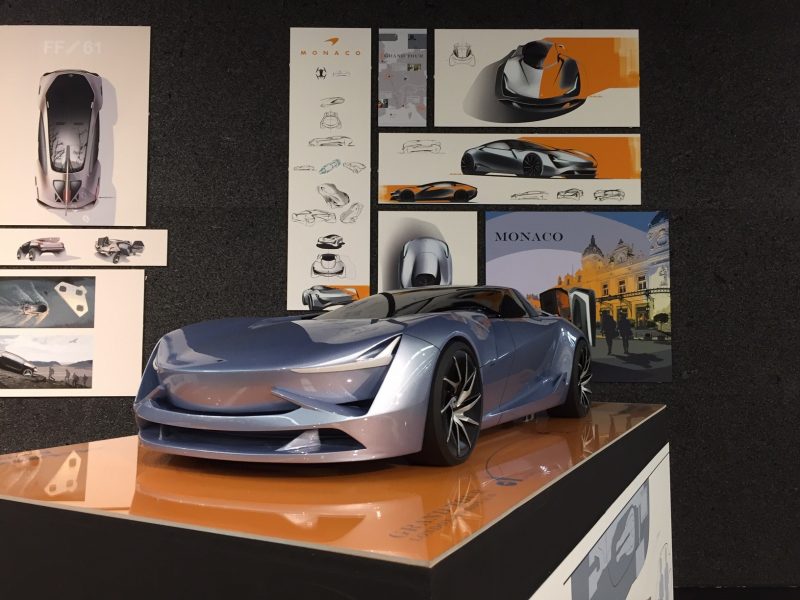
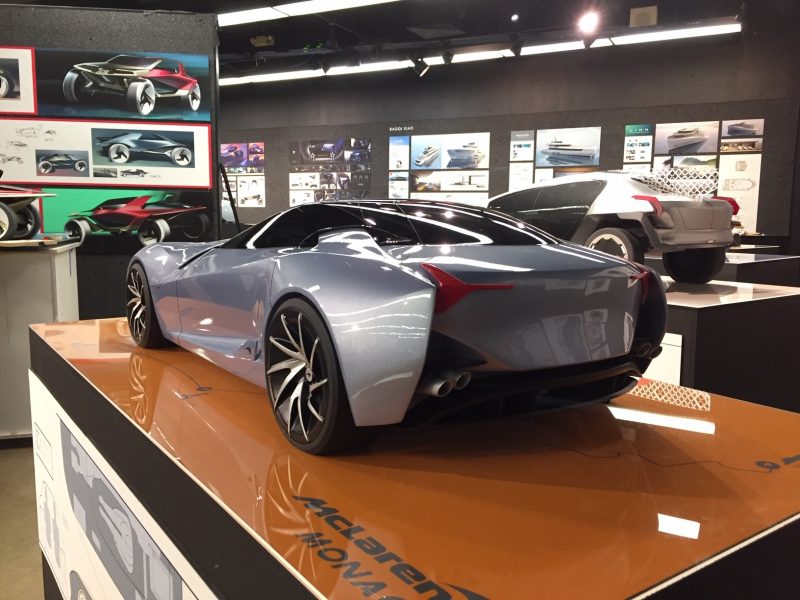
After waiting a ‘better safe than sorry’ 48 hours for that to dry I started to add the details. 3D printed headlights and tailights, rear diffuser and exhaust, CNC milled wheels and tires (also to save time) were all primed, sanded, and painted and one by one epoxied to the model. The final step to complete the model is to add the cutlines and decals.
Cutlines are not an afterthought and must be designed as should the decals. Once in place and looking right, the model is finished.


A quick personal note on student model making: I don’t claim to be a professional model maker, there are craftsman who make infinitely better quality models than I can, as well as clay modelers who in my opinion are modern day Michelangelos or Berninis, but that’s not the point. The point is this; to learn and to reflect your capabilities. As students, it’s vital that you do your own work and to see so many people paying for models to be made for them is sad.
There’s nothing wrong with enlisting help here or there because we all need it, but to not be able to have the integrity of seeing the project through from start to finish with your own blood, sweat, and tears is an unfortunate reality. However, if you’re one of the few graduates who is able to get a model made for them during an internship, that is truly amazing and quite an achievement to be celebrated and enjoyed.
As I stated at the beginning of this whole process, model making is a like rounding third base and heading for home. That’s sometimes overshadowed by the monster slam out of the park, or in this case a sketch so good it silences the rest of the wall. But as in sport, so in car design; touching home base or sinking that putt is just as vital as the first swing, and sketching that key sketch and finishing your model go hand in hand.
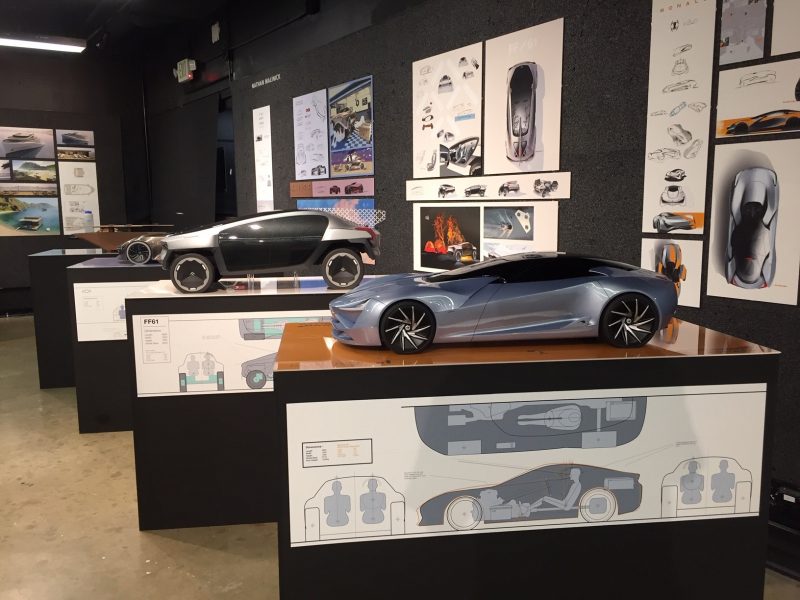
2020 McLaren Monaco By Nathan Malinick – Scale Model Development


Be sure to read to companion piece this article over here. https://www.car-revs-daily.com/2019/05/29/design-talent-showcase-2025-mclaren-monaco-front-engine-gt-by-nathan-malinick/
Design Talent Showcase – 2025 McLaren Monaco – Front-Engine GT By Nathan Malinick

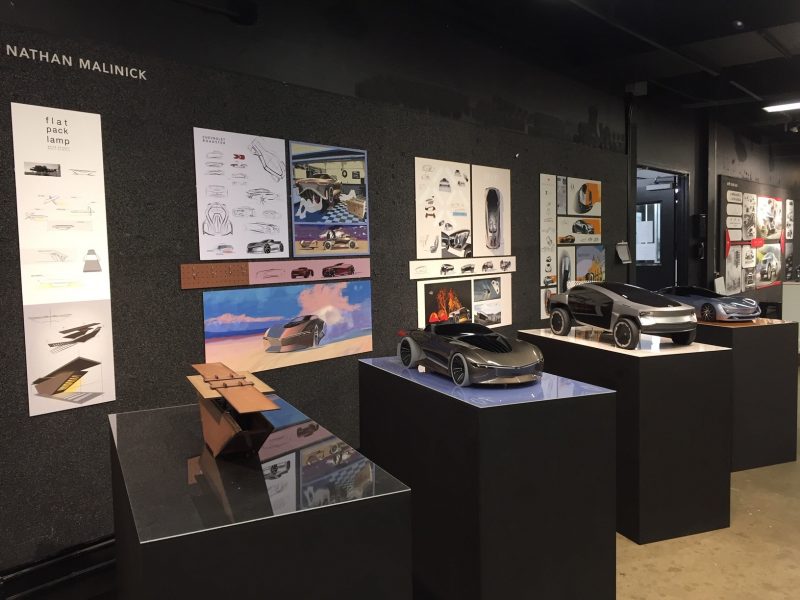
Nathan George Malinick
Transportation Design, Art Center College of Design